
RAIZIN Inc.
2022年8月23日火曜日
Webサイトの投稿機能


1. NetlifyCMSでWebサイトの投稿機能追加
今回は、ヘッドレスCMSであるNetlifyCMSの公式サイトに沿ってHUGOサイトの投稿機能構築の仕方を簡単に説明します。
なぜNetlifyCMS?
NetlifyCMSの投稿機能を使うとAPIの作成など時間をかけずに投稿者自身がWEB上で記事を書けるようになります。
今回の主題であるNetlifyCMSを使えば、誰でもWeb上で投稿できるようになります。NetlifyCMSは、シンプルで視覚的に簡単に理解できます。NetlifyCMSのデモサイトがありますので体験できます。
NetlifyCMSは、OSSであり公式サイトによると以下のような特徴があります。
1).最新のフロントエンドツールを実装して、より速く、より安全で、よりスケーラブルなサイトを提供することができます。編集者は、コンテンツ管理要件を満たすわかりやすいUIと直感的なワークフローを提供します。
2).編集者に優しいユーザーインターフェース
Web ベースのアプリには、リッチ テキスト編集、リアルタイム プレビュー、ドラッグ アンド ドロップ メディア アップロードが含まれています。
3).コンテンツチームのための直感的なワークフロー
作成者と編集者は、下書きからレビューまでのコンテンツを簡単に管理して、任意の数のカスタム コンテンツ タイプにまたがって公開できます。
4).GitHub アカウントを使用しないインスタントアクセス
Git Gateway を使用すると、GitHub アカウントを持っていない場合でも、すべてのチームメンバーに CMS アクセスを追加できます。
5).JANstack上に構築
Netlify CMS は、クライアント側の JavaScript、再利用可能な API、および事前に構築されたマークアップに基づいています。WordPressのようなサーバー側のCMSと比較して、より良いパフォーマンス、より高いセキュリティ、より低いスケーリングコスト、そしてより良い開発者体験ができます。
2. NetlifyCMSのインストール
既存のサイトに追加もできますが、今回はテンプレートを使ってインストールします。
2-1. テンプレートから始める
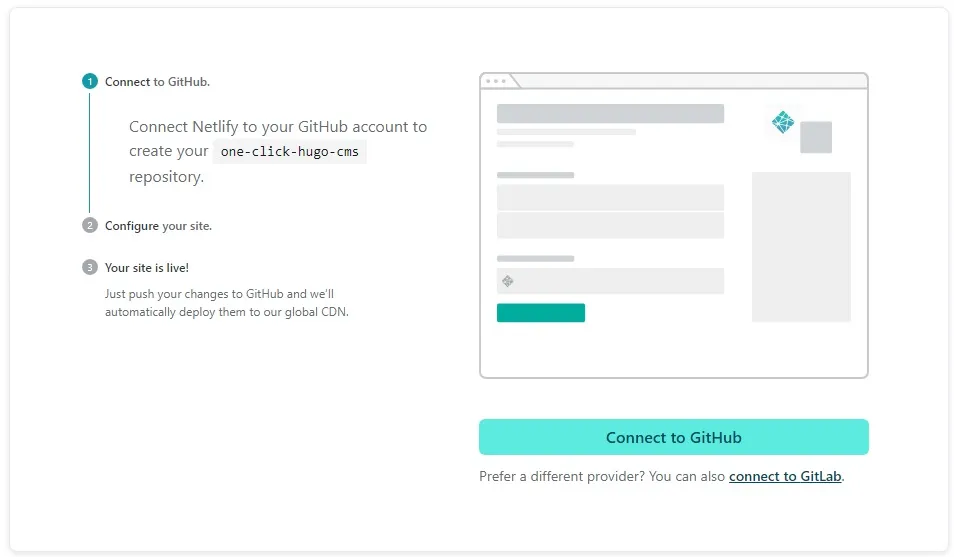
- 上記のボタンをクリックした後、GitHubで認証し、リポジトリ名を選択します。Netlify は、GitHubアカウントにリポジトリのクローンを自動的に作成します。次に、Netlify で新しいサイトをビルドして展開し、ビルドの完了後にサイト ダッシュボードに移動します。
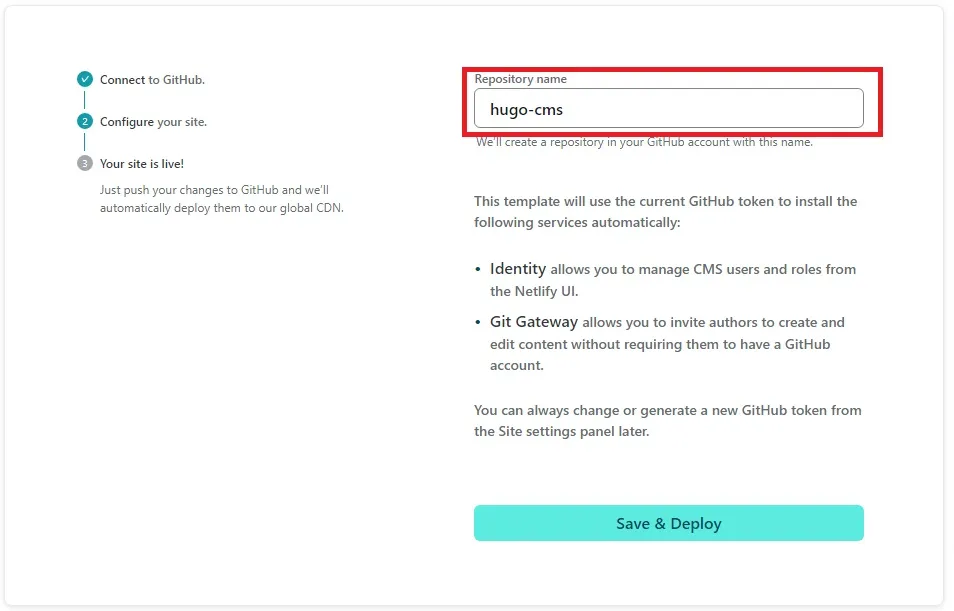
- リポジトリ名を「hugo-cms」にしています。「Save & Deploy」をクリックします。
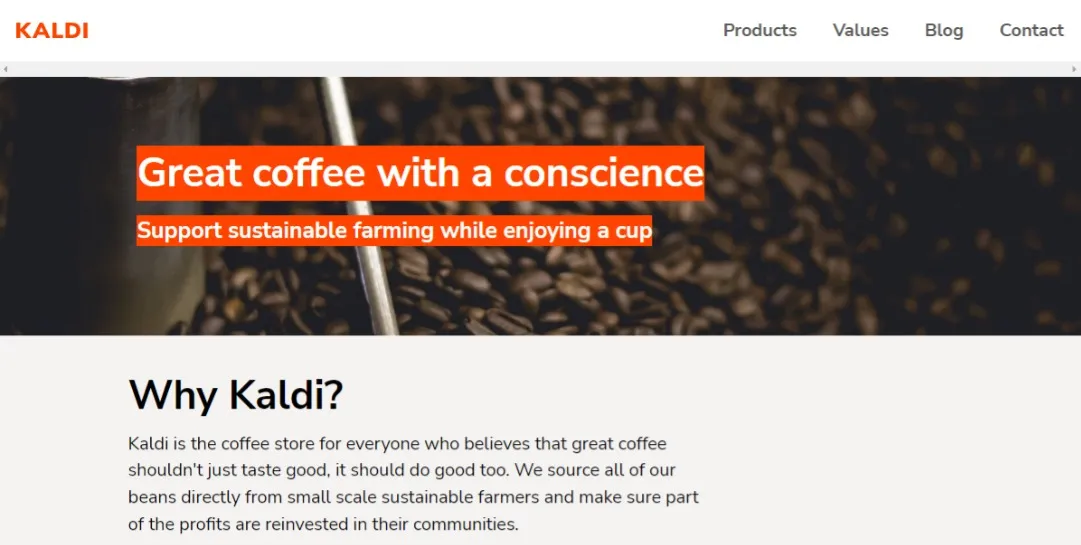
- Netlifyの画面が表示されdeployが始まり、完了するとサイトが表示されます。
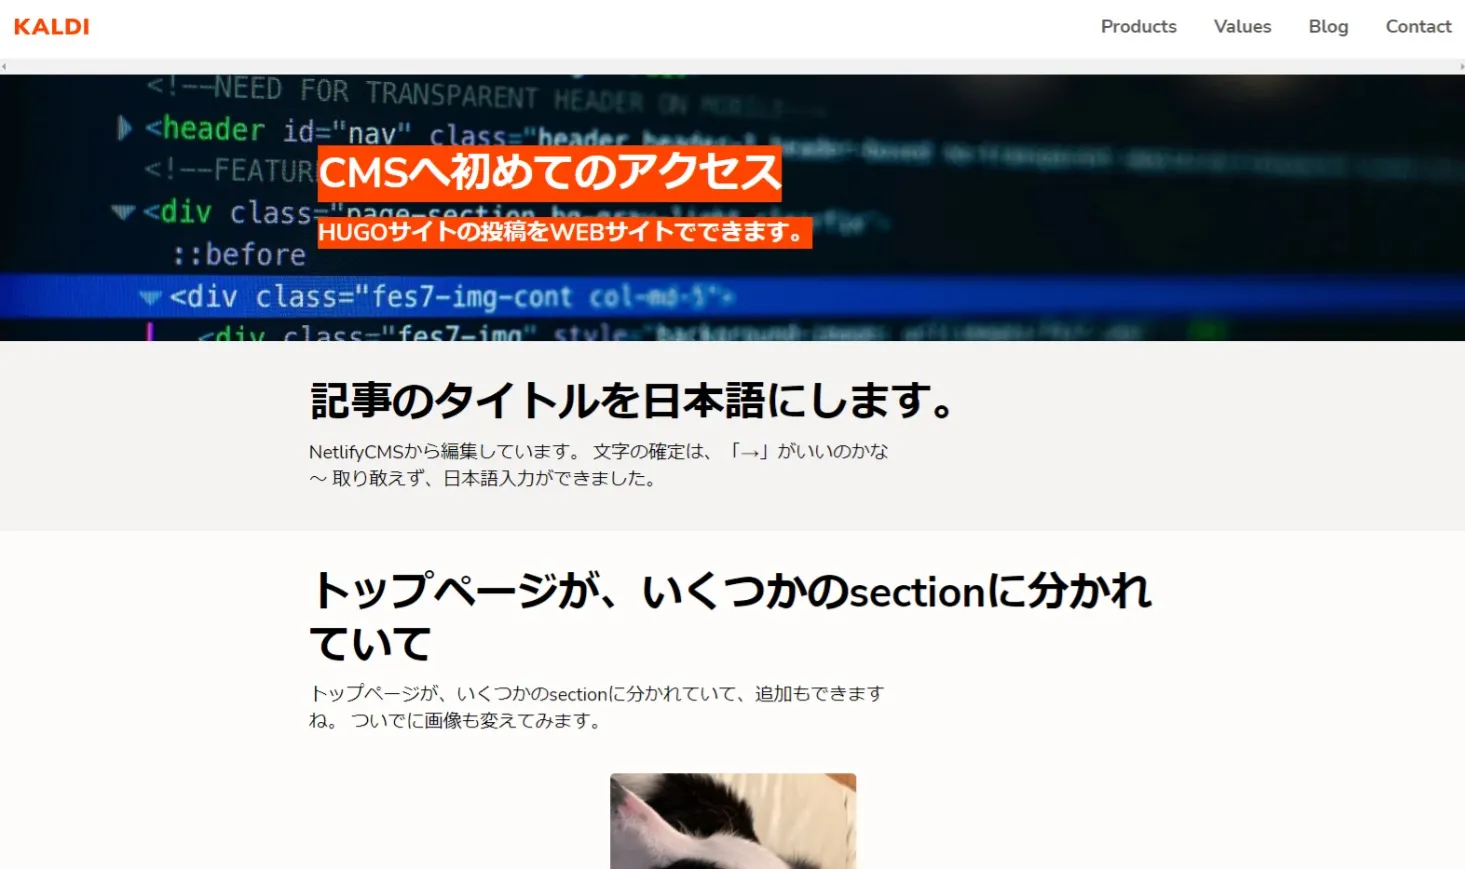
- KALDIというサイトです。
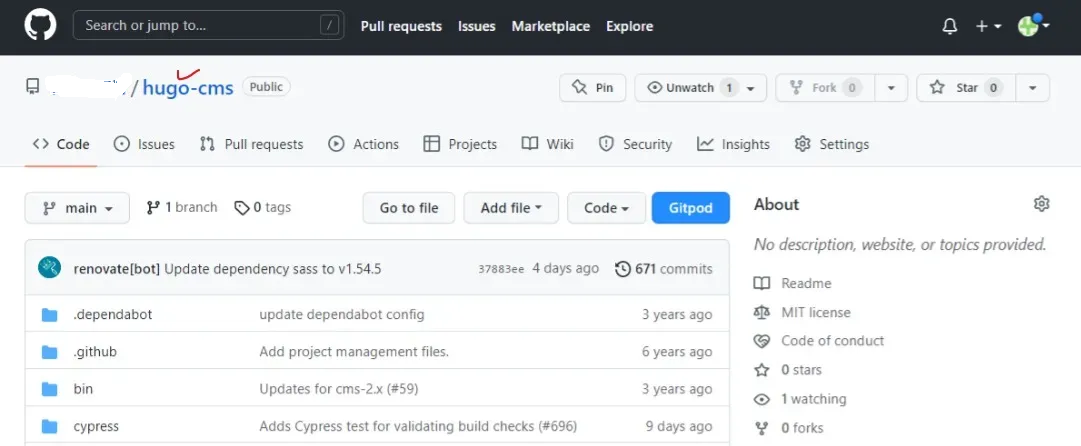
- Githubのリポジトリを確認します。「hugo-cms」が新規に作成されています。
2-2. 新しいサイトでNetlifyCMS にアクセス
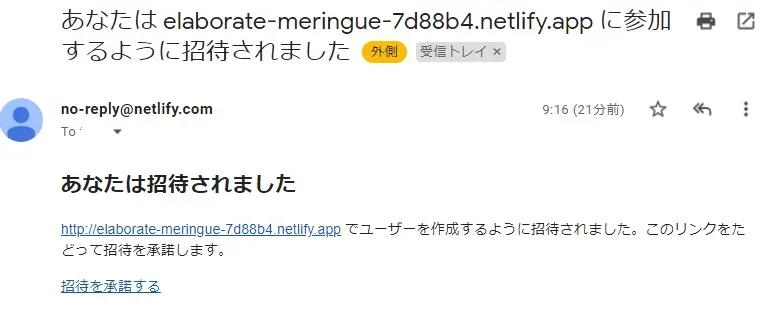
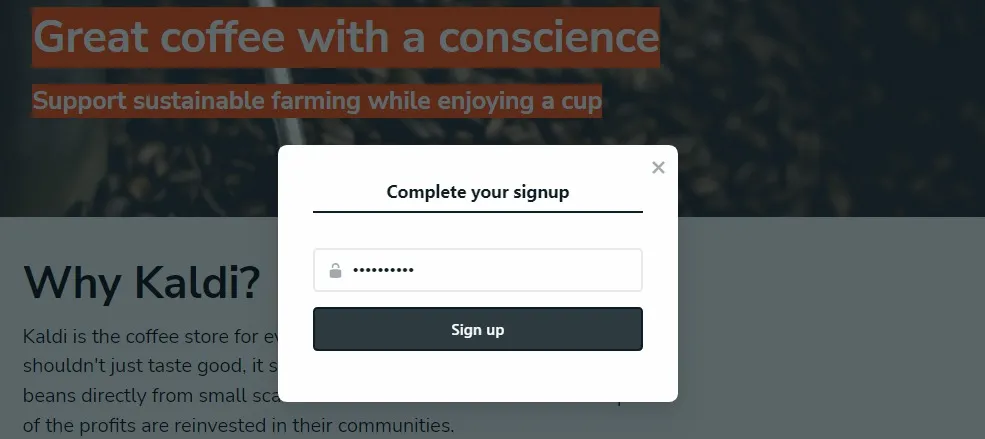
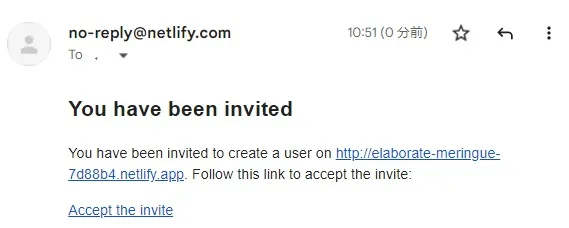
- 登録しているメールアドレスに招待メールが届きますので、Netlifyでのデプロイが完了していること確認後「招待を承諾する」をクリックします。
- パスワードを入力し、サインインすると、CMS に移動します。
- 登録が完了しログイン状態になりますので、この状態でCMSへアクセスします。
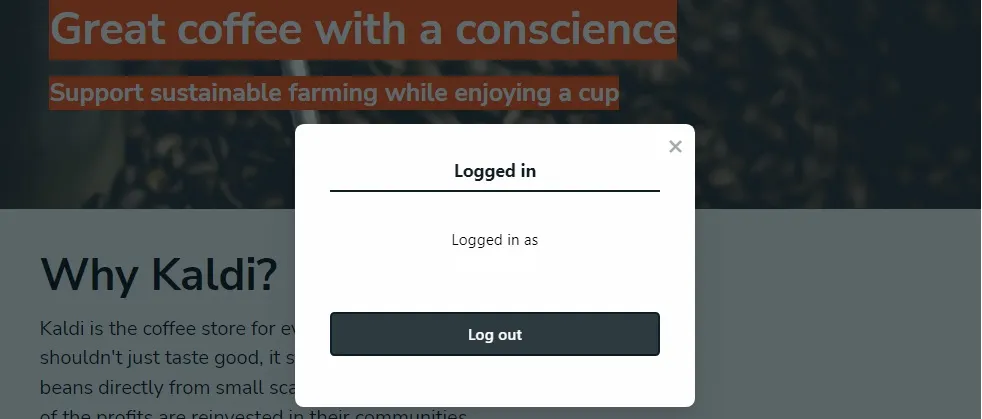
- <yoursiteaddress.com>/admin/へアクセスするとCMSを表示することができます。
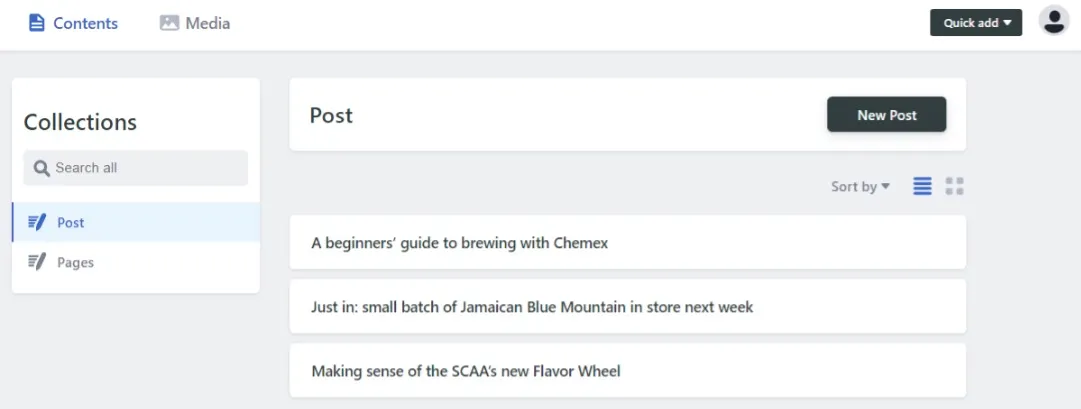
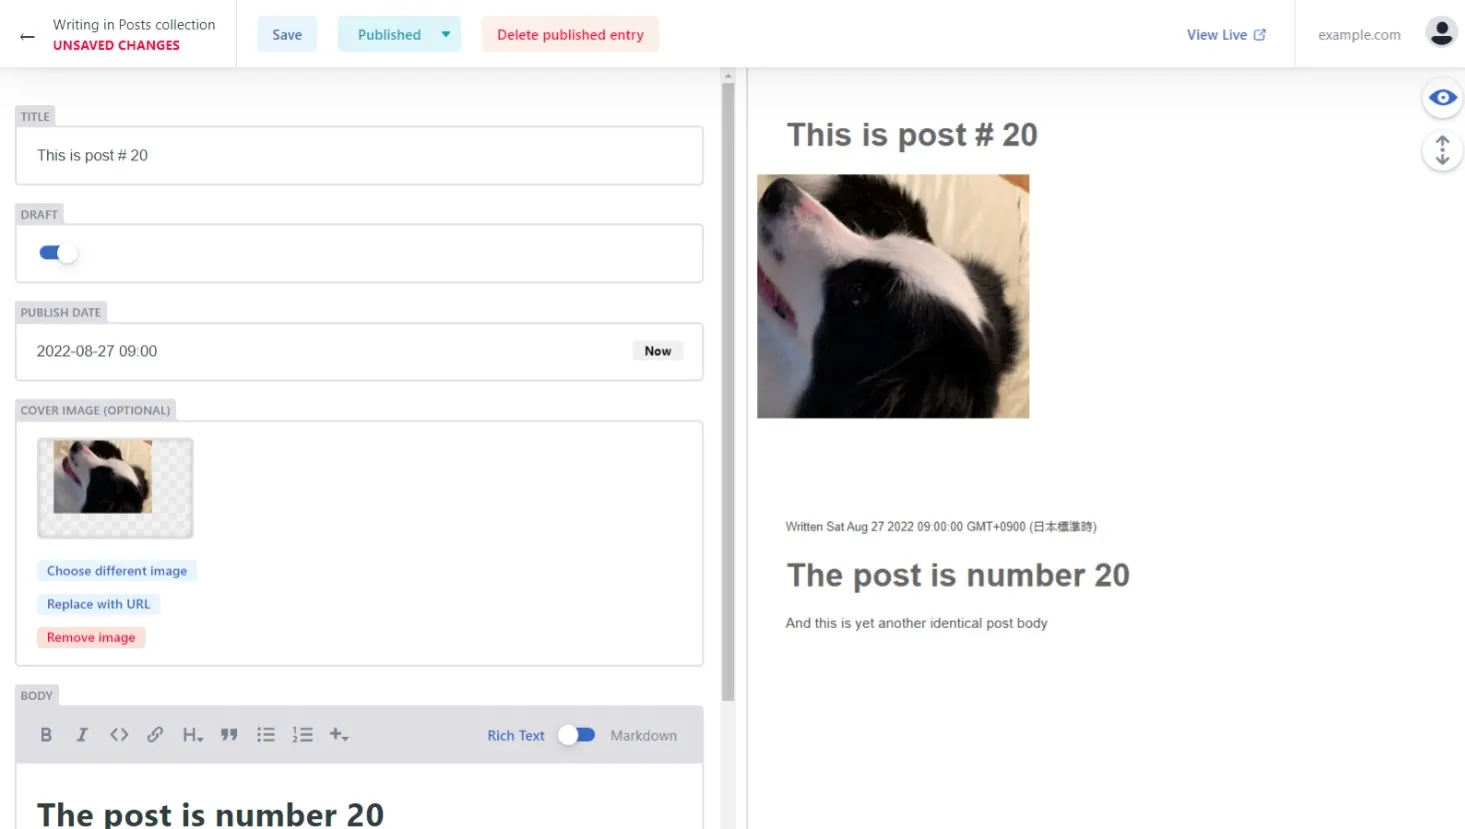
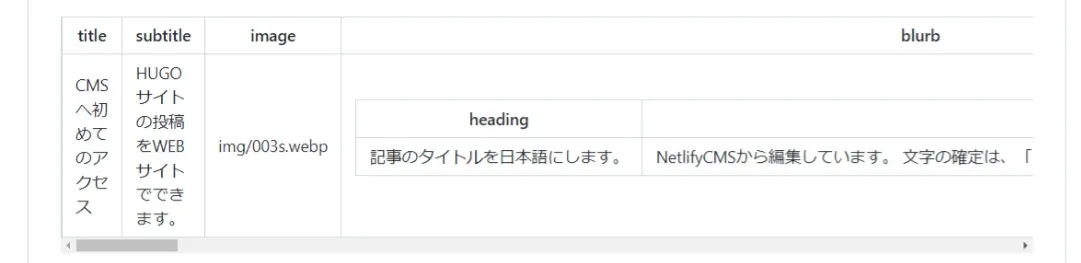
- 投稿を追加および編集するか、[製品] ページのコンテンツを変更してみてください。保存すると、変更はすぐにGitリポジトリにプッシュされ、Netlifyでビルドがトリガーされ、サイトのコンテンツが更新されます。
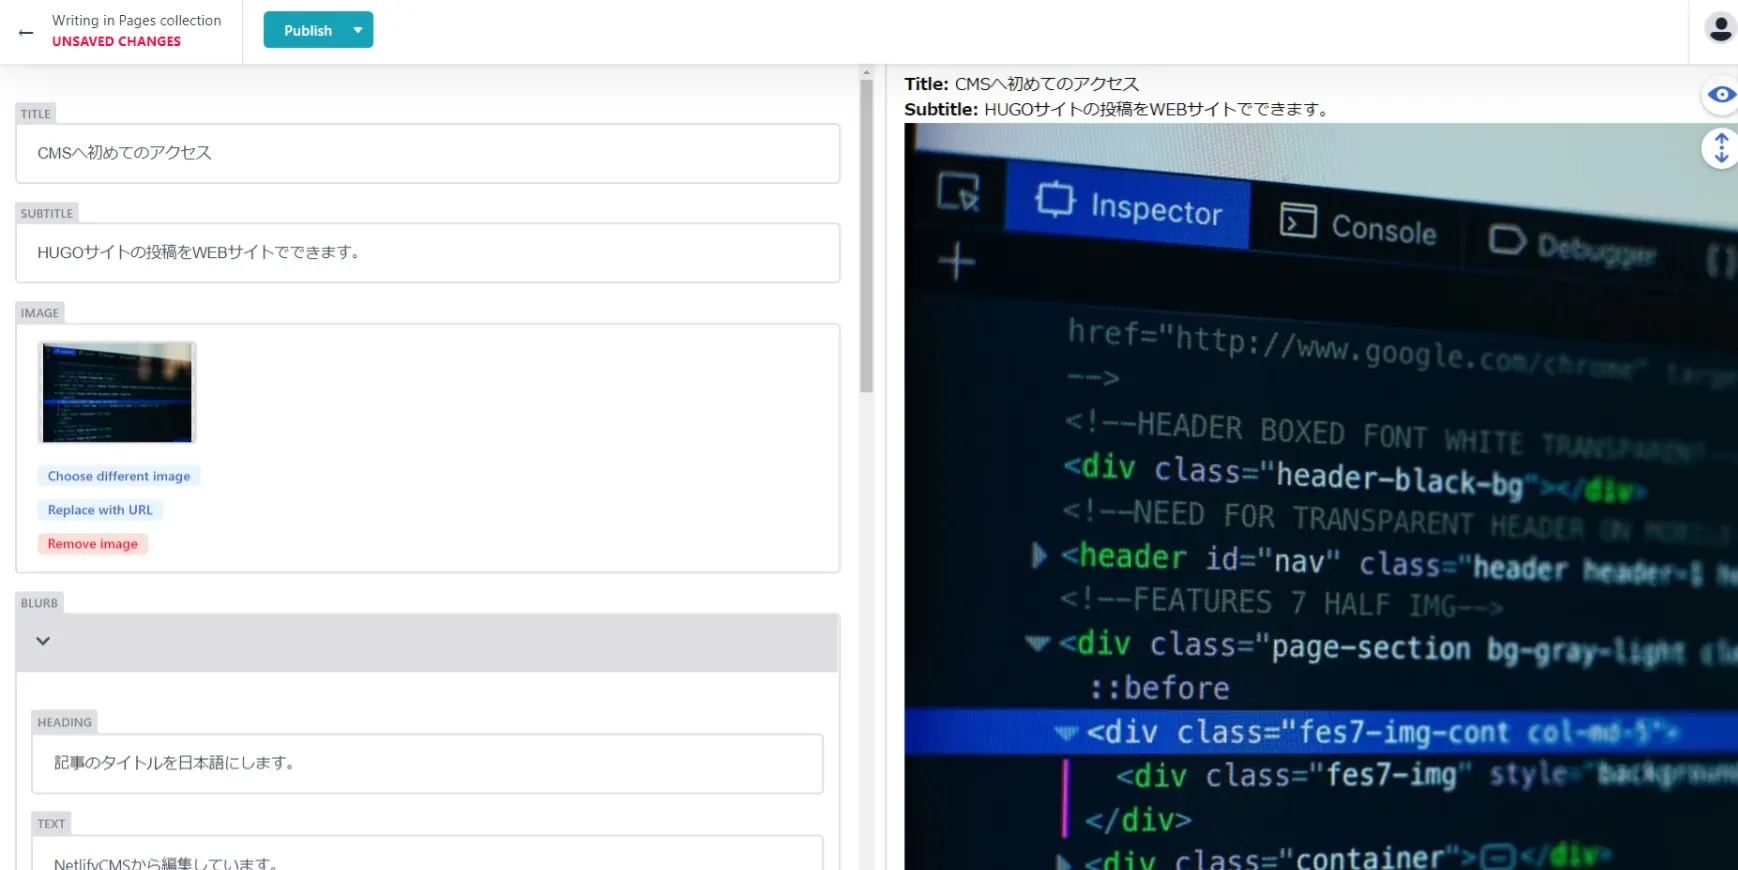
- 編集画面です。「Pubilsh」をクリック後サイトが反映するまでに少し時間がかかります。
- 編集が反映された画面です。
- サイトのGithubリポジトリの編集内容の確認画面です。
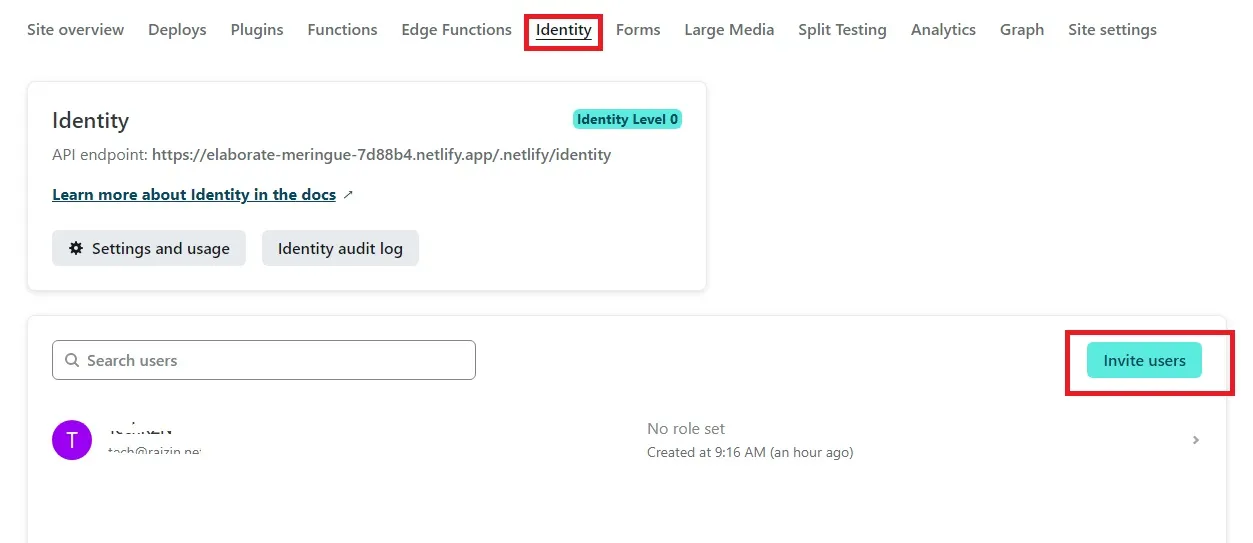
2-3. NetlifyCMSのアクセスアカウントの追加
Githubに登録されていたメールは登録されています。パスワードは最初に登録したものとなります。
Netlifyにログイン後、招待したいアカウントを追加します。
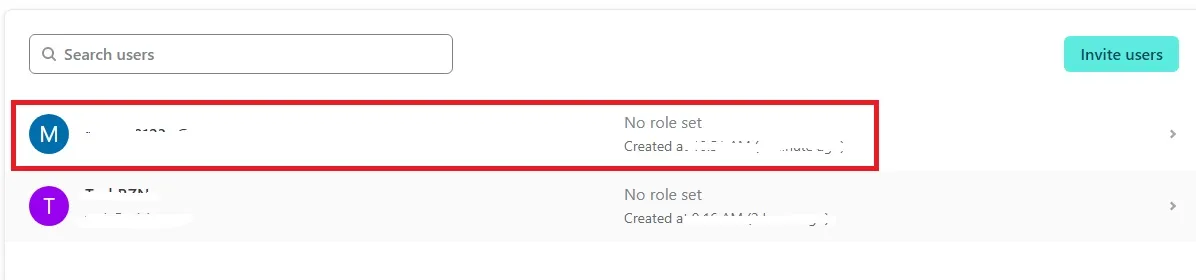
- 招待したメールアドレスに招待状が届きます。前回と同様にパスワード設定をしてもらいます。
- ユーザー追加画面
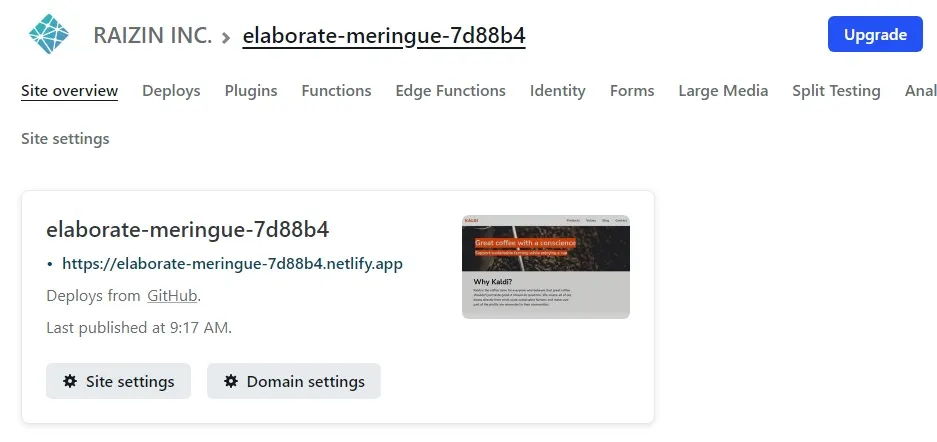
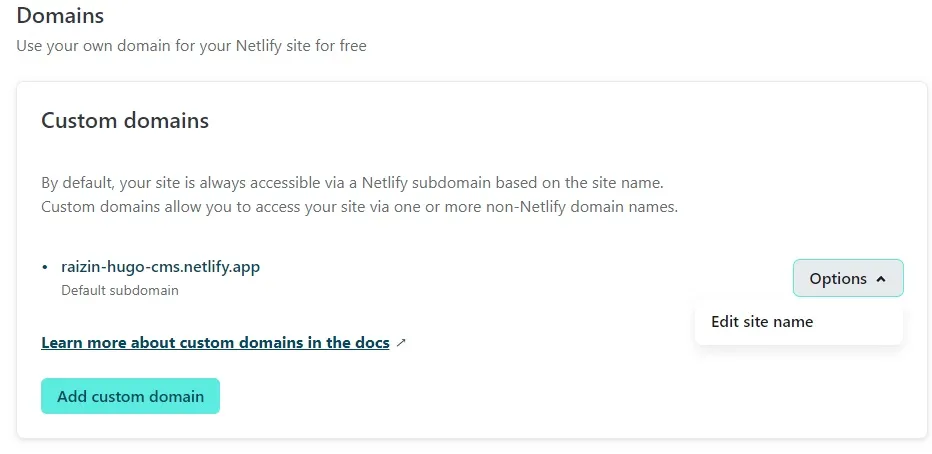
2-4. サイト名の変更
- サイト名は、Netlifyのドメイン設定でできます。
- この際は、Services->Git Gatewayを再度せってしてください。
- 変更後のサイトURL:https://[your site name].netlify.app
- 変更後のCMSのURL:https://[your site name].netlify.app/admin
2-5. NetlifyCMSの独自構築
独自にNetlifyCMSを構築することもできます。
CMSのダッシュボードの日本語化など対応できるようになります。 NetlifyCMSのGithubリポジトリ
3. サンプルサイトの設定ファイル
3-1. HUGOサイトの場合
サイトルート直下に以下のファイルがで連携します。
static/admin ├ index.html └ config.yml
- 既存のサイトに追加する場合も同じようにファイルを配置します。
3-2. index.htmlの内容
- CMSとNetlifyを連携できるようになります。
<!DOCTYPE html>
<html>
<head>
  <meta charset="utf-8" />
  <meta name="viewport" content="width=device-width, initial-scale=1.0" />

   <title>Content Manager</title>

  <script src="https://identity-js.netlify.com/v1/netlify-identity-widget.js"></script>
</head>
<body>
  <script src="https://unpkg.com/netlify-cms@^2.0.0/dist/netlify-cms.js"></script>
</body>
</html>
3-3. config.ymlの内容
- サイト構成に合わせて設定するファイルですので、自社サイトに合わせて編集します。
backend:
  name: git-gateway
  branch: main

media_folder: "site/static/img" # Folder where user uploaded files should go
public_folder: "img"

collections: # A list of collections the CMS should be able to edit
  - name: "post" # Used in routes, ie.: /admin/collections/:slug/edit
    label: "Post" # Used in the UI, ie.: "New Post"
    folder: "site/content/post" # The path to the folder where the documents are stored
    create: true # Allow users to create new documents in this collection
    fields: # The fields each document in this collection have
      - {label: "Title", name: "title", widget: "string"}
      - {label: "Publish Date", name: "date", widget: "datetime"}
      - {label: "Intro Blurb", name: "description", widget: "text"}
      - {label: "Image", name: "image", widget: "image", required: false}
      - {label: "Body", name: "body", widget: "markdown"}
  - name: "pages"
    label: "Pages"
    files:
      - file: "site/content/_index.md"
        label: "Home Page"
        name: "home"
        fields:
          - {label: Title, name: title, widget: string}
          - {label: Subtitle, name: subtitle, widget: string}
          - {label: Image, name: image, widget: image}
          - {label: "Blurb", name: blurb, widget: object, fields: [
              {label: "Heading", name: "heading", widget: string},
              {label: "Text", name: "text", widget: "text"}]}
          - {label: "Intro", name: intro, widget: object, fields: [
              {label: "Heading", name: "heading", widget: string},
              {label: "Text", name: "text", widget: "text"}]}
          - {label: "Products", name: products, widget: list, fields: [
              {label: "Image", name: "image", widget: "image"},
              {label: "Text", name: "text", widget: "text"}]}
          - {label: "Values", name: "values", widget: "object", fields: [
              {label: "Heading", name: "heading", widget: string},
              {label: "Text", name: "text", widget: "text"}]}
      - file: "site/content/contact/_index.md"
        label: "Contact Page"
        name: "contact"
        fields:
          - {label: Title, name: title, widget: string}
          - {label: Logo, name: logo, widget: image}
          - {label: Body, name: body, widget: markdown}
          - label: Contact Entries
            name: contact_entries
            widget: list
            fields:
              - label: Heading
                name: heading
                widget: string
              - label: Text
                name: text
                widget: text
      - file: "site/content/products/_index.md"
        label: "Products Page"
        name: "products"
        fields:
          - {label: Title, name: title, widget: string}
          - {label: Image, name: image, widget: image}
          - {label: Heading, name: heading, widget: string}
          - {label: Description, name: description, widget: string}
          - {label: Intro, name: intro, widget: object, fields: [{label: Heading, name: heading, widget: string}, {label: Description, name: description, widget: text}, {label: Blurbs, name: blurbs, widget: list, fields: [{label: Image, name: image, widget: image}, {label: Text, name: text, widget: text}]}]}
          - {label: Main, name: main, widget: object, fields: [{label: Heading, name: heading, widget: string}, {label: Description, name: description, widget: text}, {label: Image1, name: image1, widget: object, fields: [{label: Image, name: image, widget: image}, {label: Alt, name: alt, widget: string}]}, {label: Image2, name: image2, widget: object, fields: [{label: Image, name: image, widget: image}, {label: Alt, name: alt, widget: string}]}, {label: Image3, name: image3, widget: object, fields: [{label: Image, name: image, widget: image}, {label: Alt, name: alt, widget: string}]}]}
          - {label: Testimonials, name: testimonials, widget: list, fields: [{label: Quote, name: quote, widget: string}, {label: Author, name: author, widget: string}]}
          - {label: Full_image, name: full_image, widget: image}
          - {label: Pricing, name: pricing, widget: object, fields: [{label: Heading, name: heading, widget: string}, {label: Description, name: description, widget: string}, {label: Plans, name: plans, widget: list, fields: [{label: Plan, name: plan, widget: string}, {label: Price, name: price, widget: string}, {label: Description, name: description, widget: string}, {label: Items, name: items, widget: list}]}]}
      - file: "site/content/values/_index.md"
        label: "Values Page"
        name: "values"
        fields:
          - {label: Title, name: title, widget: string}
          - {label: Image, name: image, widget: image}
          - label: Values
            name: values
            widget: list
            fields:
              - {label: Heading, name: heading, widget: string}
              - {label: Text, name: text, widget: text}
              - {label: Image, name: imageUrl, widget: image}
4. ライセンスフリーのHugoテーマの紹介
HUGOのテーマでライセンスフリーのtella3を紹介します。
opera7133さんは、千葉県の方のようでHugoのテーマは全てライセンスフリーです。
tellaのMITライセンス(MIT):著作権 (c) 2020 YOUR_NAME_HERE
Node.jsが必要ですが、魅力的なHUGOのテーマの一つです。
機能:
5.参考サイトULR
Disqus:コメントWebサーボス-Disqus はコメントの投稿・承認・スパム処理を受け持っているサービスで、Twitter、Facebook、Friendfeed、Yahooなど様々なSNSと連携できます。 ↩︎
Google Chrome上でデモアプリの計測
 ↩︎
↩︎